
Today we’re going to learn how to work with images to detect faces and extract facial features such as the eyes, nose, and mouth. This method has the potential to do many incredible things from analyzing faces to capturing facial features to tag people in photos, either manually or through machine learning. Also, you can create effects and filters to “enhance” your images, similar to the ones you see in Snapchat.
We’ve previously covered how to work with OpenCV to detect shapes in images, but today we’re taking it to a new level by introducing DLib, and abstracting face features from an image.
[Read: How the Dutch government uses data to predict the weather and prepare for natural disasters]
But first of all, what is DLib? Well, this is an advanced machine learning library that was created to solve complex real-world problems. This library has been created using the C++ programming language and it works with C/C++, Python, and Java.

The <3 of EU tech
The latest rumblings from the EU tech scene, a story from our wise ol' founder Boris, and some questionable AI art. It's free, every week, in your inbox. Sign up now!
It’s also worth noting this tutorial might require some previous understanding of the OpenCV library. Such as how to deal with images, open the camera, image processing, and some other techniques.
So, how does it work?
Our face has several features that can be identified, like our eyes, mouth, nose, etc. When we use DLib algorithms to detect these features we actually get a map of points that surround each feature.
This map is composed of 67 points (called landmark points) and can identify the following features:

- Jaw Points = 0–16
- Right Brow Points = 17–21
- Left Brow Points = 22–26
- Nose Points = 27–35
- Right Eye Points = 36–41
- Left Eye Points = 42–47
- Mouth Points = 48–60
- Lips Points = 61–67
Now that we know a bit about how we plan to extract the features, let’s start coding:
Installing requirements
This article will present examples with code, and I’ll guide you step by step to implement a fully working example of facial feature recognition. But before we get started, make sure you’ve started a newPython project and then install three different libraries:
- opencv-python
- dlib
If you use pipenv like I do, you can install all of them with the following command:

If you’re working on Mac, and some versions of Linux, you may have some problems when installing dlib. If you get compiling errors during the installation make sure you check the CMake library version you’re using. In Mac, make sure you have CMake available and with the right version you can run:

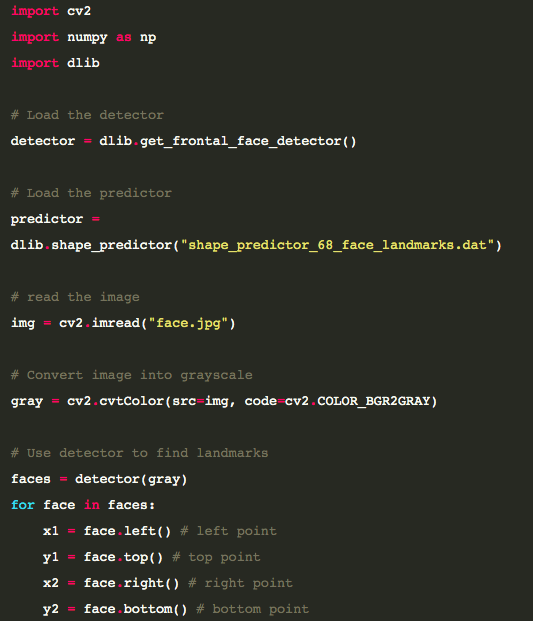
Step 1: Loading and presenting an image
We’ll start small and build on the code until we have a fully working example. Normally I like to use plots to render the images, but since we have something cool prepared for later in the post, we’ll do something different and create a window where we’re going to show the results of our work.
So, let’s get started:
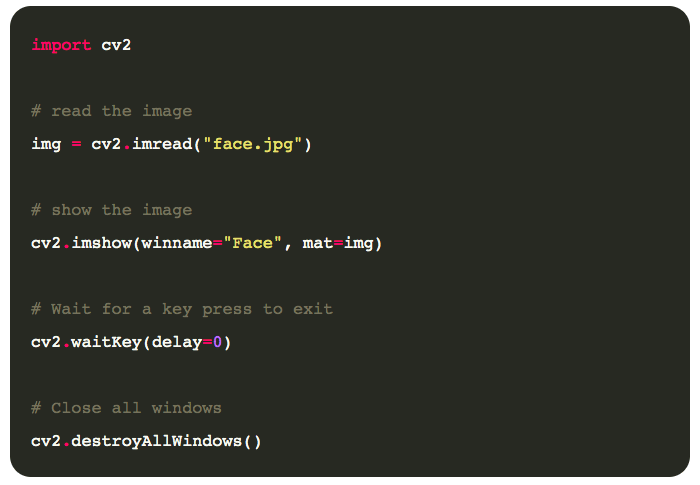
Pretty simple, right? We’re just loading the image with imread, and then telling OpenCV to show the image in a winname, this will open the window and give it a title.
After that, we need to pause execution as the window will be destroyed when the script stops. So we use cv2.waitKey to hold the window until a key is pressed, and after that, we destroy the window and exit the script.
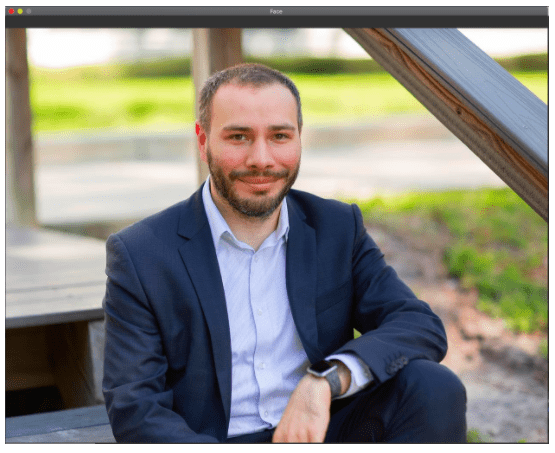
If you use the code and added an image named face.jpg to the code directory, you should get something like the following:
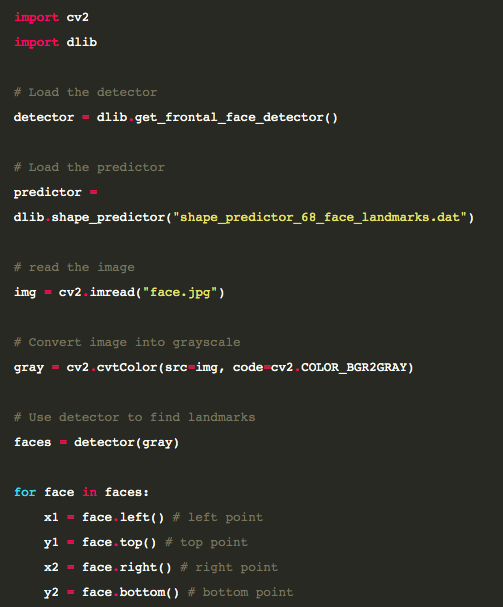
Step 2: Face recognition
So far we haven’t done anything with the image other than present it into a window. That’s pretty boring, but now we’ll start coding the good stuff and identify the face in the image.
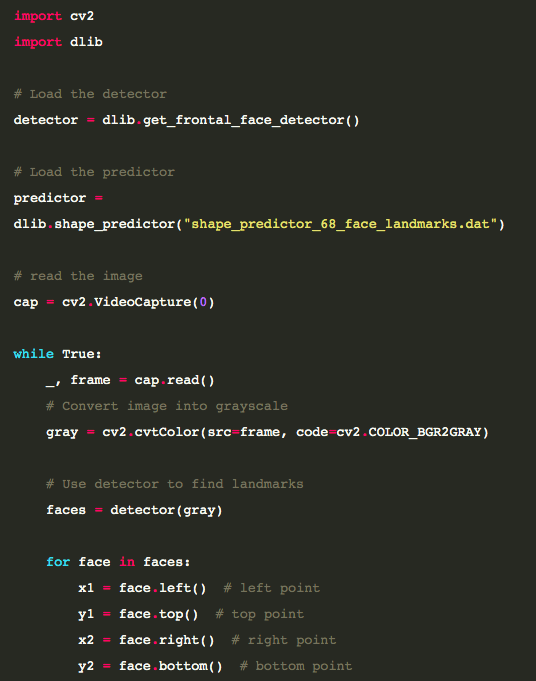
For this we will use a Dlib function called get_frontal_face_detector(), pretty intuitive. There’s a caveat though, this function will only work with grayscale images, so we will have to do that first with OpenCV.
The get_frontal_face_detector() will return a detector that is a function we can use to retrieve the faces information. Each face is an object that contains the points where the image can be found.
Let’s see it on the code:
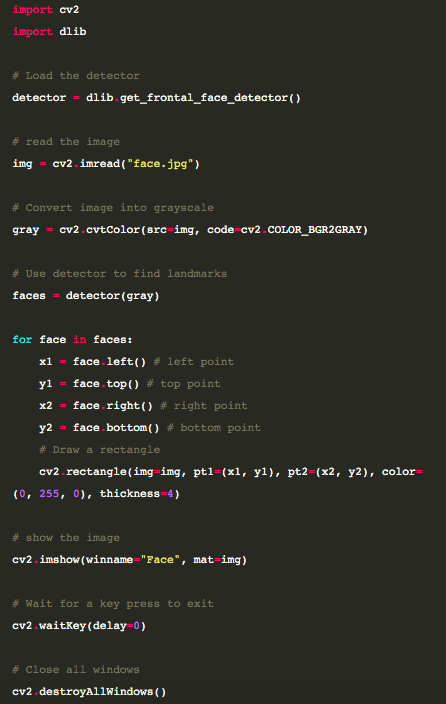
The code above will retrieve all the faces from the image and render a rectangle over each face, resulting in an image like this:
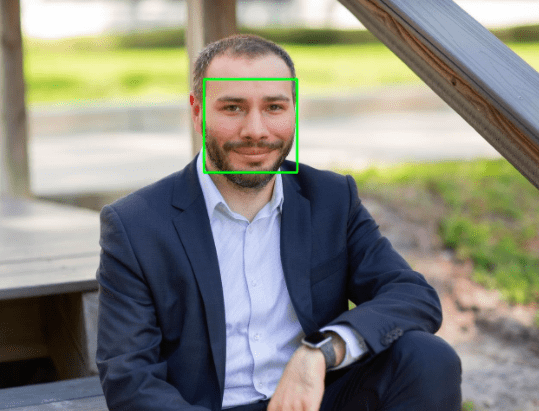
Good news, we’ve found the face. But we still need to do some work to extract all the features. Let’s work on that next.
Step 3: Identifying face features
So far DLib has been pretty magical in the way it works. With just a few lines of code we could achieve a lot and now we have a whole new problem. Will the next steps be just as east?
The short answer is yes! Turns out DLib offers a function called shape_predictor() that will do all the magic for us but it does require a little help — it needs a pre-trained model to work.
There are several models out there that work with shape_predictor, the one I’m using can be downloaded here, but feel free to try others.
Let’s see how the code looks now:
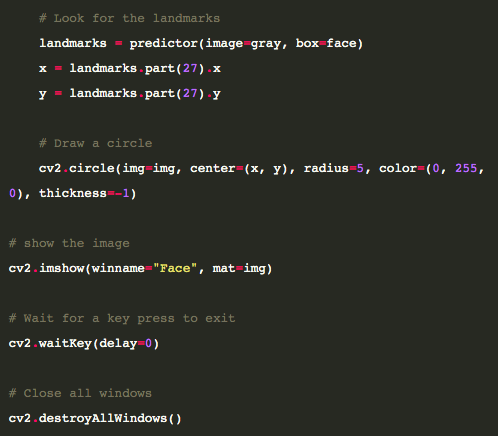
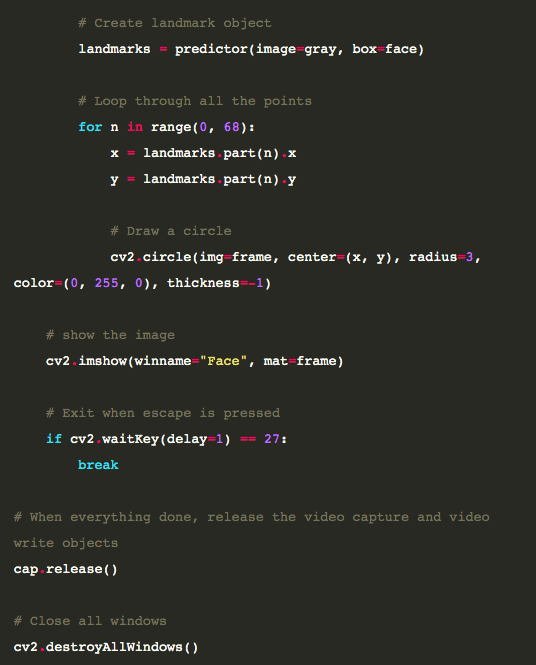
Like before, we’re always building on the same code. Now, we’re using our predictor function for each face to find the landmarks. But there’s still something a little strange, like what’s the number 27 doing there?
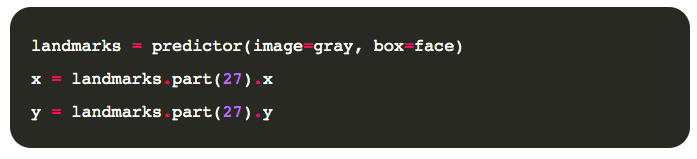
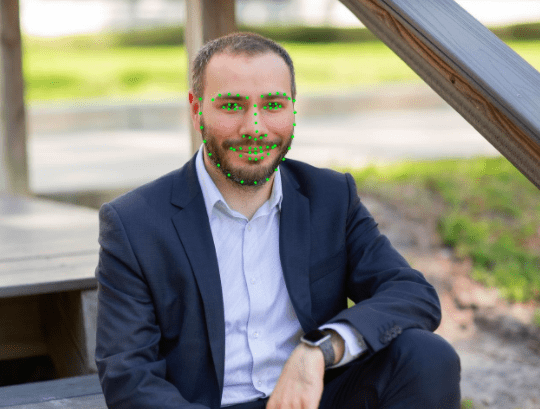
Our predictor function will return an object that contains all the 68 points that conform a face according to the diagram we saw before, and if you pay attention to it, the point 27 is exactly between the eyes. If everything worked out correctly, you should see a green dot between the eyes in the face.

We’re getting really close, let’s now render all the points instead of just the one:
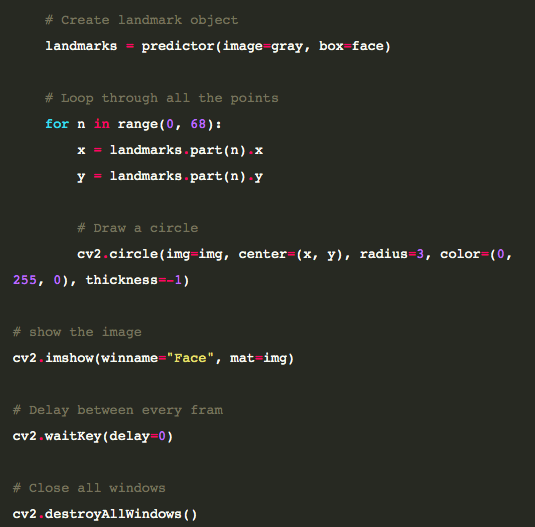
Tada! Magic:
But what if you’re not interested in all the points? Well, you can actually adjust your range intervals to get any feature specified in the glossary above, as I did here:

Amazing, what else can we do?
Step 4: Real-time detection
Yes, you read it right! And yes it’s probably what you are thinking! The next step is to hook up our webcam and do real-time landmark recognition from your video stream.
You can do real-time facial landmarks detection on your face by iterating through video frames with your camera or use a video file. Refer to the code below if you want to use your own camera but for video file make sure to change the number ‘0’ to video path.
If you want to end the window press ESC key on your keyboard:
And the final result is here:
GIF created from the original video, I had to cut frames to make the GIF a decent size. Even with low light the results were pretty accurate, though there are some errors in the image above, but with better lighting it works perfectly.
OpenCV and DLib are powerful libraries that simplify working with machine learning and computer vision. In this article, we’ve only just scratched the surface, there’s much more to learn from both of them.
This article was originally published on Live Code Stream by Juan Cruz Martinez, founder and publisher of Live Code Stream. He is a Software Engineer with more than 10 years of experience in the field, working in a wide variety of projects, from open source solutions to enterprise applications. Happily married, with a kid, officially engaged to JavaScript, in a love relationship with Python, and pursuing the writer’s dream! You can read this original piece here.
Live Code Stream is also available as a free weekly newsletter. Sign up for updates on everything related to programming, AI, and computer science in general.
Get the TNW newsletter
Get the most important tech news in your inbox each week.